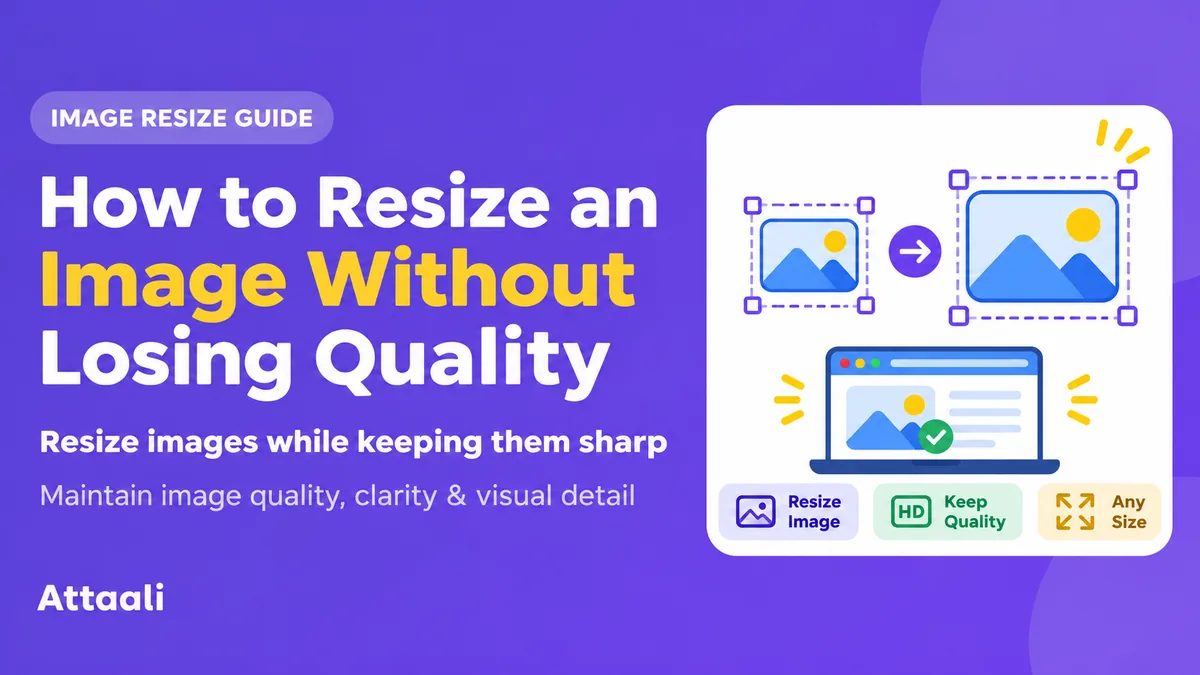
How to resize an Image Without Losing Quality
You’ve taken a great picture to add to your website. When trying to upload it the form says the image is too big. After resizing it, once uploaded the image appears out of focus. The text that was small in your graphic also appears to be less clear.
There are ways to resize images so they stay clear but it’s important to know whether you are scaling the image down or up and what your editor can do.
Below are some tips to help you resize an Image Without Losing Quality. This could be on your Windows laptop, Mac or phone.
What Does ‘Without Losing Quality’ really mean?
Your image will consist of a certain amount of pixels. As an example a larger image would have more data in it (e.g. 4000 x 3000) compared to a smaller image (e.g. 800 x 600).
When you scale the larger image down you will be removing or merging pixels. Whilst this will not cause huge issues with the image quality it will lose some of the original data.
Scaling up is more difficult as the editor will need to guess what the new pixels would look like. It won’t always show you the true detail.
It’s not an actual magic trick but just makes it so the image remains crisp and natural looking when scaled to the size you want. Usually scaling down carefully will give you a better result than scaling a small file up massively.
Know the pixels
For example your website banner could be 1200 pixels wide. If your image was originally 4000 pixels wide you have plenty of space to scale it down. If the image was only 400 pixels wide you may notice it becoming out of focus after scaling it up 3 times.
The pixel size refers to how big the image actually is. The file size will refer to how large the file is (in KB/MB).
The DPI/PPI value is only important if you are going to print the image. Scaling it up from 72 to 300 PPI won’t make your online image any clearer as you aren’t adding any new pixels.
Lock the aspect ratio
Have you ever seen images where everybody looks very tall or short? This is because the width and height of the image has been altered.
The aspect ratio is the relationship between the width and height. An image of 1600 x 900 will have a ratio of 16:9. If you want to halve the width you will need to scale it to 800 x 450 as opposed to 800 x 600.
Most editors will have a lock icon or chain icon. Or you may have a box that says ‘Maintain aspect ratio’. Keep this toggled on whilst scaling.
If the website requires an image of a different shape, crop it first.
Method 1 – Using Paint on Windows
Microsoft Paint can be used on many Windows devices to easily resize your image.
- Open your image.
- Click Resize or press Ctrl + W.
- Click pixels to resize the image to an exact size. Or select percentage to scale it proportionally.
- Ensure ‘Maintain aspect ratio’ is ticked.
- Enter the new width or height and click ok. Save the image as a new version by clicking File > Save as.
As an example, if your image is 3000 x 2000 pixels and you need it to be 1500 pixels wide for your website. By keeping the ratio locked, Paint should automatically change the height to 1000.
This is a good way to scale down your image. However if you are scaling up significantly or want to have more control over how you are resampling your image you may get a better result from using a more advanced editor.
Method 2 – Using Preview on Mac
You can easily scale your image using Preview.
- Click on your image.
- Go to Tools > Adjust Size.
- Click pixels.
- Ensure Scale proportionally is ticked.
- Enter the new width or height.
- Ensure Resample image is ticked if you actually need to change the pixel count.
- Save as a new version.
You can also change how big the image will be when printed. This can be useful if you want to prepare your photograph for printing. However unless you resample it, you won’t be able to scale down your 4000 pixel image.
Method 3 – Using Android/iPhone
Your phone can be used to resize your image. However depending on your device and apps you may not have as much control.
Depending on your gallery some Android editors may have a ‘Resize’ function. Other editors may not have exact pixel sizes but allow you to crop. Look for a Resize, Image size or Dimensions option in the menu.
On iPhone the Photos app can be useful for cropping and adjusting images. However if you need exact pixel sizes you may need to use a shortcut, trusted image editor or other tool.
Whatever method you use try to use the full resolution image, keep the ratio locked and save as a new file. Open the information for this file to ensure the width and height are correct.
Try not to assume the image will remain at the original resolution when sent via a messaging app. Some methods will automatically compress/resize your image.
Can I resize an image online?
Yes. Many online editors will allow you to upload a photo, enter in new pixel sizes and download a resized version.
Look for an editor that allows you to enter in the new width and height. Ensure it has a proportional option. Choose a suitable format for your output. Preview the image.
Be careful when uploading any ID, family photos or sensitive business images. Some tools may store your file on their server. Check the privacy details. Often using an in-built editor is best for sensitive images.
Also remember that resizing is different to compression. Whilst resizing changes the pixel size, compression changes how the data is stored. Many tools will allow you to do both.
What If You Need to scale up a small image?
Scaling up a small image will cause it to lose the most quality. Faces can appear blurry, edges can be pixelated and text may be unreadable.
AI upscaling can guess what the missing details would look like. Sometimes you’ll get a nicer result than just scaling up. However these are guesses and you shouldn’t rely on them to tell you what the small text or face looked like in the original photo.
If you need to scale up a logo or icon look for the original vector file (e.g. SVG). Vector files can be scaled up nicely as they are using shapes to create the image.
If possible use a high resolution original.
Choose a suitable image format
Even if you scale your image well you may end up with a poor result if you use too much compression.
JPG is often a good choice for photos. It will keep the file size quite small. However if you keep saving at a low quality you may notice some distortion.
PNG can be used for screenshots, diagrams and graphics with text. It will keep the edges sharp due to it being lossless. It can also be useful if your graphics have transparency.
WebP and AVIF are modern formats that can be useful. They can offer efficient compression. Check your upload platform allows you to use them.
Try using a medium or high quality setting. Preview the image. Only lower the quality as much as needed to fit within your file size. Always export from your original.
Common mistakes causing blurry images
Scaling up a small image. Not locking your aspect ratio. This can cause the image to become stretched.
Some people think cropping is the same as scaling. Cropping will remove part of the image. Scaling will change the size of the image. If you need an exact profile picture you may need to do both.
Try not to scale up/down multiple times. This can cause the quality to be lost.
Try to view the image at the size it will be displayed. Even if it looks slightly different at 400% it could look perfectly clear in a 600 pixel wide blog post.
Final Thoughts
You don’t need to end up with a blurry or stretched image. Just use the best original you can, check the new pixel sizes and keep the aspect ratio. Use a suitable editor.
Paint and Preview can be used to simply scale your image on your desktop. Other options include using your phone editor or trusted browser tools. Remember that scaling up has limitations.
Save your final image in a suitable format. View it at the size people will actually see. Always keep your original. These methods will be more reliable than any promises of perfect quality.